
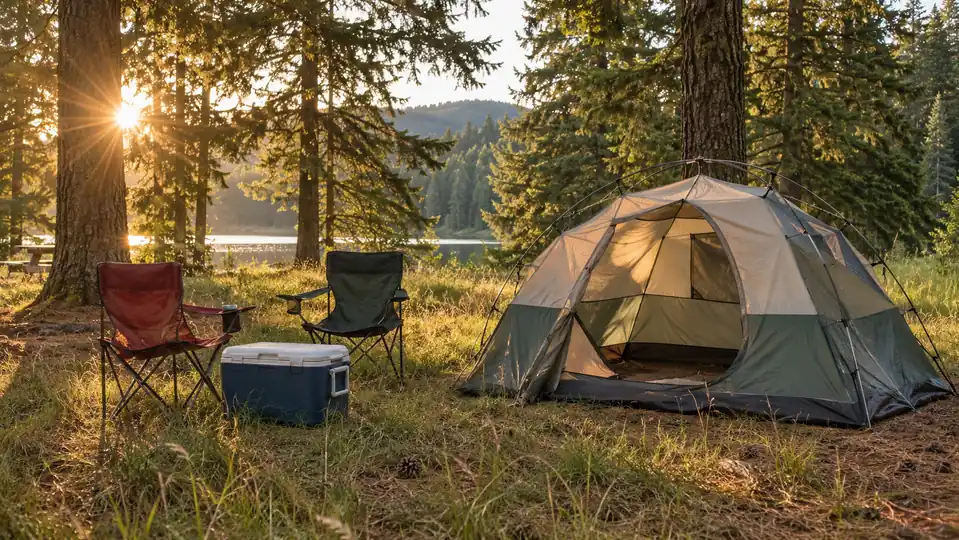
I set this tent up alone for the first time at a state park outside Shelton, with Glenn down at the water with the dog and about forty minutes of daylight left. Eleven minutes later it was standing, stakes in, rainfly on. That is not a brag. It is what happens when you stop arguing with a freestanding dome and give it the two things it actually needs: ground that is flat, and corners that stay where you put them. The Coleman Sundome rewards that approach. It is a six-person tent with a hundred square feet of floor and a six-foot center height, and the reason it goes up quickly is that the frame holds its own shape once the poles are seated. You are not holding the tent up while you fight it. You are just guiding it.
Most of the slow setups I watch are not the tent's fault. They are somebody pulling in at nine at night, in the dark, in a wind, with the instructions still folded in the pole bag, trying to do five jobs at once. Or they bought more tent than they need and are now wrestling it alone in a headlamp beam while everyone else stands around holding a beverage. I have been that person, more than once, and the fix was not a better tent. The fix was doing the steps in a sensible order and doing the boring part, which is the ground, before the interesting part, which is the poles. The Coleman Sundome forgives a great deal, but it cannot fix a site you chose badly.
One Hundred Square Feet, Six Feet of Headroom, One Person Setting It Up
The Coleman Sundome is a three-season freestanding tent with the WeatherTec system for rain, a rainfly included, and large windows plus a ground vent for airflow. Two queen airbeds fit inside with room left for gear. If you are the one who always ends up doing this alone, it was built with you in mind.
Amazon Check Today's Price on Amazon →Step 1: Choose the Ground and Lay the Floor Out Flat
A hundred square feet of floor means you need a patch roughly ten feet by ten, and it needs to be flatter than it looks from the car. Walk it first. Kick the pine cones aside, find the roots, notice which way the ground tilts. A slight slope drains well and sleeps miserably, because you will spend the night sliding toward the low corner. Look up as well. Dead limbs in a Douglas fir are not a theoretical problem in a wind, and you would rather know now than at two in the morning. On a warm weekend I aim the door away from the afternoon sun so the inside is not an oven by five o'clock, and I try to put the low side of the tent toward the prevailing wind.
Then unroll it and lay the floor out flat before you touch a single pole. This is the step people skip and it is the one that saves the most time. A floor that is spread properly shows you where the corners belong and how much room you are actually working with. A floor that is half folded over fights you for the next twenty minutes. Take the extra thirty seconds to square it up. If the dog is with you, and the dog usually is, this is the moment to clip a leash on and tie it to the cooler. A forty-two pound cattle dog who wants to help is not helping, and claws and tent fabric are a one-way transaction. I learned that one on a trip where I also learned how to patch a floor.
Step 2: Stake the Corners Loose, Then Build the Poles
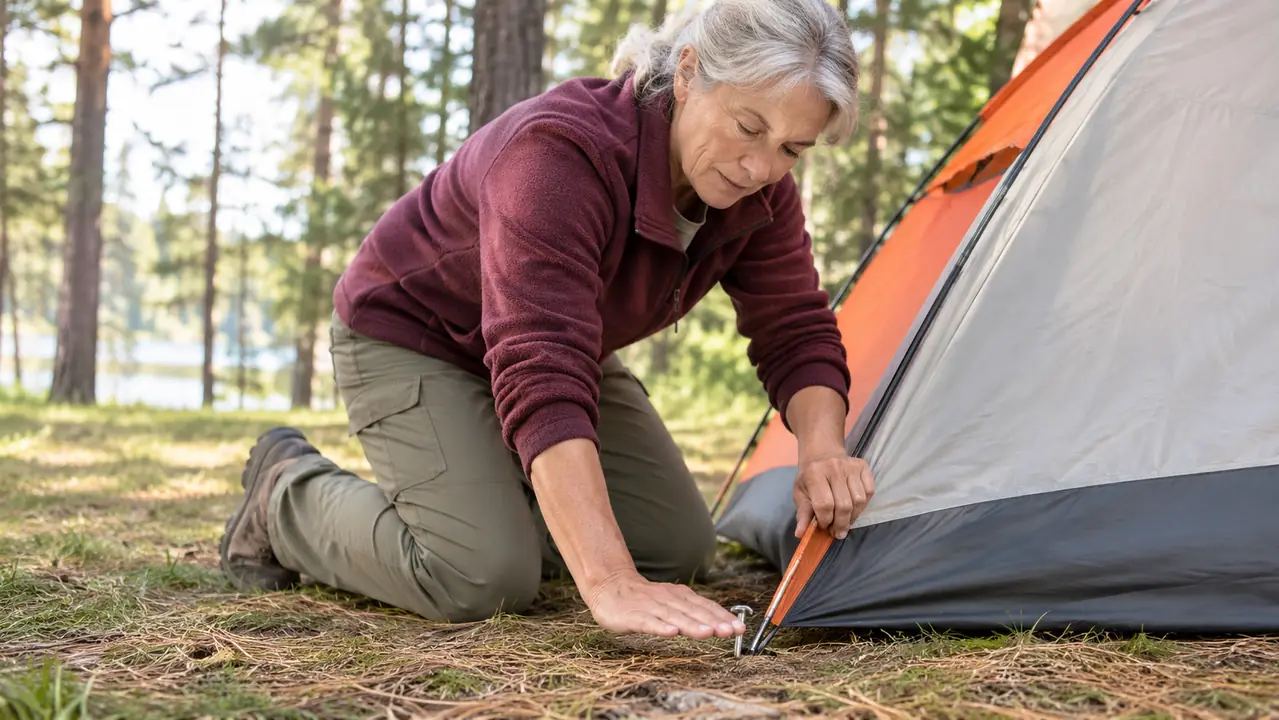
Stake the four corners with the line let out a little, not tight. You are anchoring the tent's footprint, not tuning a guitar. Loose corners let the frame move while you raise it, and a tent that can move will not tear at the seams. If the ground is hard, and in August in the Cascades it often is, work the stake in at an angle rather than hammering straight down and bouncing off. A rock or the flat of a hatchet does the job. On the drive-in sites I use most, this is also when I check that no corner is sitting in a low spot where water would pool. Water runs to the lowest point. Do not make the lowest point the inside of your tent.
Poles next. They are aluminum, and aluminum does not forgive a bend the way fiberglass will. Keep the sections seated fully as you build each pole, and do not snap them together with a flick the way you see in videos, because that is how you get a joint that is half in and a pole that fails in the middle of the night. Work on the ground, one pole at a time, and keep them low and flat rather than waving the assembled ones around. Lay them out in the order you plan to use them. If it is windy, and it is usually a little windy, do not unroll the whole pole bag at once. One pole, seated, done, then the next. Losing a pole section in tall grass is a ten minute search and a bad mood.
I do this part alone and I want to say plainly that it is not hard. It is just orderly. The mistake I see is people trying to raise the whole tent before the poles are properly seated, so the frame is half built and the fabric pulls against itself. If a pole feels like it needs force, stop and look at it. Something is not lined up. Force is what turns a fifteen minute setup into a trip to the hardware store in town. Keep the pole bag somewhere you can find it, too. Mine goes in the same tote every time, because a loose pole section rolling around in the back of a car is how you end up with a torn seat.
Step 3: Raise the Frame and Let It Stand Up on Its Own
Once the poles are seated, stand the frame up, one end and then the other. This is where the Coleman Sundome does the work for you. It is a freestanding design, which means exactly what it sounds like. It stands by itself. You do not need to hold it while you go find something. You can let go, step back, and look at it. The frame carries the fabric and the fabric settles into its shape, and most of the setup is finished at that point. If it does not want to stand, check the corners again. Usually a stake has pulled or a pole has come out of its seat, and the fix is thirty seconds of looking rather than thirty seconds of pushing.
Walk the perimeter and pull the walls out snug before you go further. Then check the door zipper. I check the zipper on every tent I own the first time it goes up each season, because a zipper that is going to separate will always do it at the worst possible hour. Open and close it once while the tent is still empty and easy to reach. That is also a good time to look at the seams above the door, where the stitching takes the most strain, and make sure nothing is caught in there that should not be. Then move on.
The corners are the whole trick. Ninety seconds of staking at the start saves ten minutes of arguing with a half-raised tent at dusk.
Step 4: Rainfly On, Buckles First, Tension Last
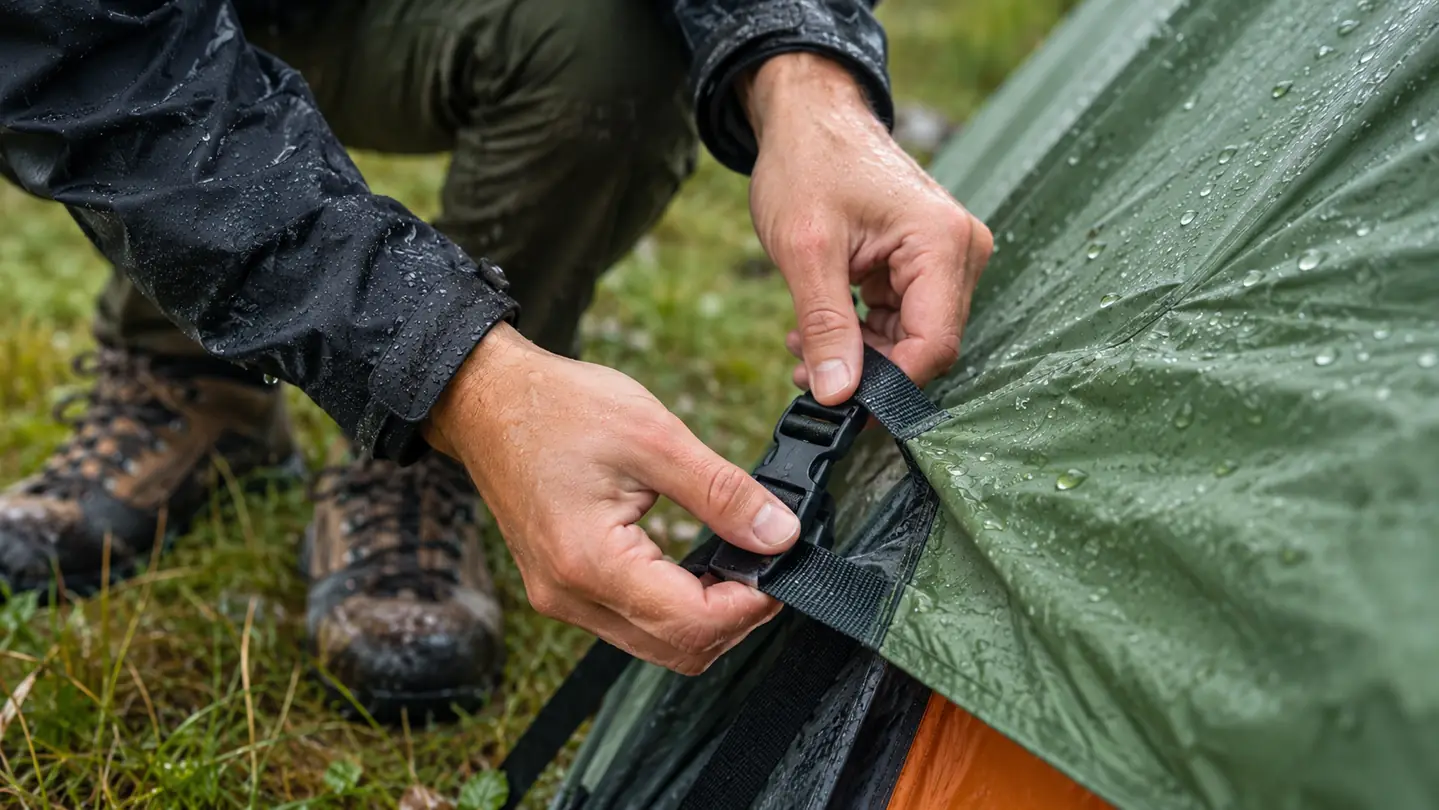
The rainfly is included, and it is worth putting on every night, not only the ones with rain in the forecast. It is what keeps the dew off the ceiling, and dew is more reliably wet than forecasts are. Center it before you buckle anything down. A fly that is off by six inches on one side will be taut on one corner and flapping on the other, and flapping is what wakes you at four in the morning. Set it, step back, look at it, and adjust while it is still loose enough to move.
Then tension it, working from the corners toward the middle, a little at a time. Tight enough that the fly does not move in a breeze, not so tight that you are pulling the stitching out of the hem. I use the flat of my hand on the fabric as a gauge, and if it feels like a drum I back off. The WeatherTec system is doing the real work on water resistance, and it does that best with a fly that is set properly rather than one that has been hauled to the limit. The other reason to keep it moderate is that fabric stretches when it gets wet and shrinks when it dries, so a fly cranked down hard while dry is a fight to undo the next morning.
Step 5: Open the Vent, Set the Windows, and Do a Two-Minute Seam Check
The tent has large windows and a ground vent, and both exist to push heat up and out. Use them. Even on a cool night I leave the vent open, because condensation is what makes a tent feel damp and cold at three in the morning, and it comes from breathing, not from rain. The ground vent sits low and pulls cooler air in while the warm air leaves higher up. I open it, open the windows on the sheltered side, and leave the windward ones zipped. That gives you air movement without turning the inside into a wind tunnel. In hot weather, opening everything while you are out hiking keeps the tent from baking and keeps it from smelling like a car trunk.
Last thing, and it takes two minutes. Stake out the remaining corners and any lines you plan to use. Walk the whole tent once and put your hand on the seams, especially the floor seams and the corners where the poles meet the fabric. Run a finger along the inside of the fly. If anything feels damp or looks like it is wicking, that is your warning, and you can deal with it now with a cloth and a seam treatment instead of at midnight. Then take a final look at the ground around the base. Rake the leaves and needles back from the tent if you can. It is not a fire concern, it is a mud concern, and it is a habit I picked up years ago after a wet weekend in a low site.
What Else Helps
Two things make more difference than any gear you can buy. The first is a ground cloth, cut smaller than the floor rather than larger. A cloth that sticks out past the edges catches rain and channels it under the tent, which is the opposite of what you wanted. Fold the edges under. The second is practicing once in the yard before the first trip of the season. Not because the tent is complicated, but because your hands remember the order and the light in your own yard is better than the light at a campsite at dusk. Ten minutes in April saves you a bad evening in June. I do this with a cup of coffee and the dog tied to the porch, and it is honestly one of the nicer parts of the year.
Keep a headlamp in the tent bag, not in the car, and not in the tote that is somewhere under the sleeping bags. Keep a pair of light work gloves in there too. Aluminum poles and cold mornings are hard on the hands of anyone past fifty, and I say that as someone past fifty. If the wind is really blowing when you arrive, wait it out if you can. Setting up a dome in a gust is a losing game and the usual result is a bent pole. If you cannot wait, stake the windward corners first, keep the tent low, and get the fly on before you stand around admiring your work.
Take it down in the morning in the reverse order, fly off first and folded separately so it does not soak the tent body. If you are packing up wet, and in western Washington you will be, set it back up in the yard when you get home and let it dry before it goes into storage. A tent put away damp gets a smell that never entirely comes out, and the coating on the floor does not appreciate it either. Shake the pine needles out of the corners. Count the poles and the stakes against the number that came in the bag. Then put the whole thing where you will find it next time, which for me is the shelf by the garage door, next to the cooler Glenn insists on bringing.
The Tent You Can Put Up Without Waiting for Help to Arrive
Six people, a hundred square feet of floor, and a six-foot center height, in a freestanding three-season package with the rainfly included. Read the long-term notes before you decide.
Amazon Check Today's Price on Amazon →