
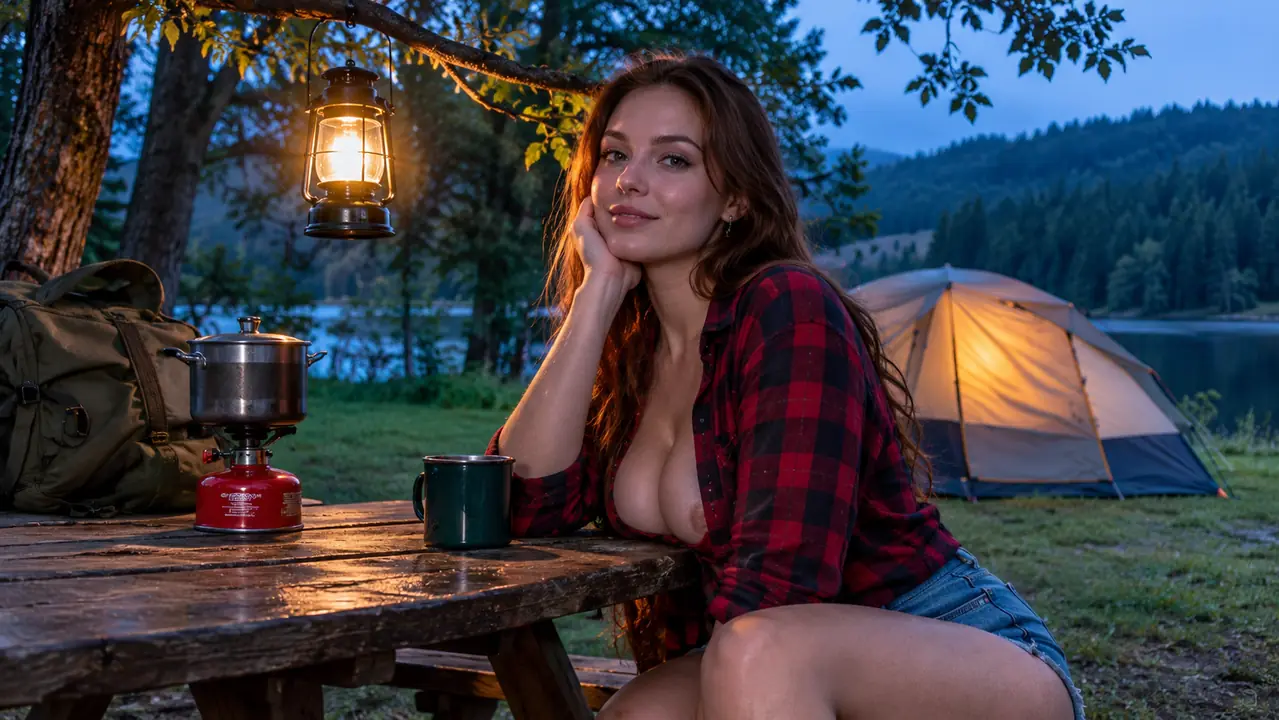
The first time Glenn and I lit a campsite after dark, we did it wrong in a way I still think about. We had one lantern, a heavy thing with a mantle, and we set it in the middle of the picnic table and turned it up. For about ten minutes it was wonderful. Then we needed to find the can opener in the car, and the tent was a black hole ten feet away, and neither of us could see the ground where the guy lines were, and I stepped on the dog's foot.
What I learned over the next several seasons is that lighting a campsite is not really about owning a bright light. It is about placing a few modest ones correctly. A rechargeable LED lantern like the Lepro 1000LM gives you a light you can hang, dim, and move without thinking about fuel, and once you have one of those, the whole job becomes a matter of position. Here is how I do it now, in order, from the moment we pull in.
The lantern that made me stop carrying spare mantles
A rechargeable LED lantern with a top hook and a base hook, a 360 degree beam, and 1000 lumens when you need it. This is the one that lives in the back of our Outback from April to October.
Amazon Check Today's Price on Amazon →Step 1: Set your base light before the sun is gone
Do the first placement in daylight, or at least in that gray hour when you can still see what you are doing. I hang the main lantern from the hook on the underside of the picnic table shelter, or from a low branch if there is no shelter, roughly over the center of where we will cook and eat. Not on the table itself. On the table it throws light straight up into your eyes when you sit down and casts your own hands into shadow right where you are trying to cut an onion.
Height matters more than brightness. Chest height to overhead is right. High enough that the light spreads, low enough that it reaches the plates. The Lepro has a hook on the top and a second hook at the base, which sounds like a small thing until you are trying to hang a light under a table shelter where the only attachment point is below the beam. That base hook lets you hang it upside down and still have it sit level. I use it more than I expected to.
This is also your brightest setting, so it is the one to think about. At 1000 lumens the lantern will light a whole picnic pad and a good deal of the ground around it. On a busy August weekend at a state park, that is more light than your neighbors want to see, and I usually start lower and turn it up only for the actual cooking.
I learned the height lesson the hard way on the second weekend in May a few years back, the first trip of the season, when I hung the lantern from a bracket barely four feet off the ground because it was the only thing within reach. Every plate on the table threw a shadow and Glenn ate his chili in the dark. Now I carry a two-foot length of cord to drop a hang point down to the right height, and I check it by standing where I will cook and holding my hand at counter height. If my hand is in shadow, the lantern is too low.
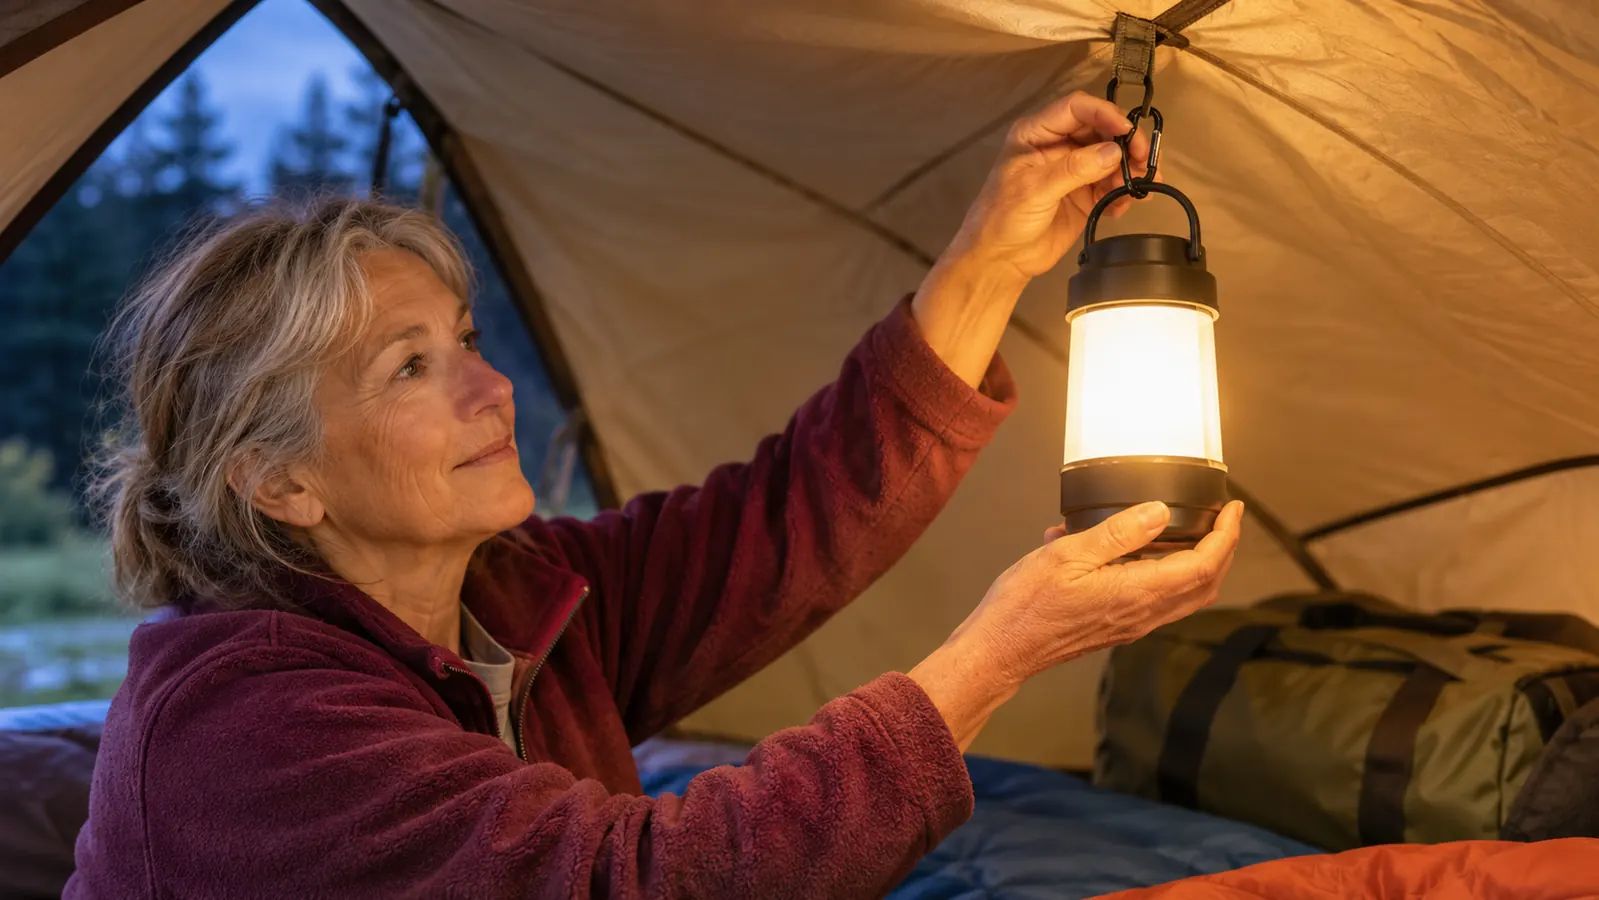
Step 2: Hang a second light inside the tent and leave it there
The tent light is the one people skip, and it is the one that saves the evening. Before dark, hang a lantern from the ceiling loop of the tent. Ours sits at the highest point, which means it lights the floor evenly and does not blind anyone lying down. This is the light you use to find your pajamas, to read for twenty minutes, and to locate the dog at two in the morning without unzipping everything and hunting for a headlamp.
Ours is a four-person dome, and the loop at the peak sits a little over five feet off the floor. I mention the number because it decides the setting. A lantern hanging that close to the sleeping pads reads much brighter than the same lantern over a picnic table, and what looks like a dim glow from standing height is a spotlight once you are on your back looking up at it. That is the whole reason the low settings matter more in a tent than they do outside.
Turn it down. A tent is a small space and a bright light in a small space is punishing. On the Lepro, the lower settings are plenty for a tent interior, and the runtime stretches out accordingly. The listing gives 12 hours of battery life, and while I have not sat with a stopwatch, I can tell you that running it low all night for a weekend and charging it Sunday has never left us dark.
One caution from someone who has cleaned a tent floor: keep the lantern off the fabric floor itself. Juniper is 42 pounds of cattle dog mix and she considers any object on the floor to be a thing to walk over. Hanging it solves that, and it also keeps the light out of the dog's eyes, which she tolerates poorly.
Step 3: Put a small light low, at ground level, on the path you actually walk
This is the step almost nobody does and the one that prevents the most injuries. The ground around a campsite after dark is a collection of hazards you installed yourself: guy lines, a cooler handle, a fire ring, a water jug, the corner of the camp chair. Overhead light does not help you see these, because your own body blocks it and because a low object under a high light is in its own shadow.
The reason I am stubborn about this one is a trip in October a couple of seasons back. I went out after full dark to bring the water jug in and caught my shin on the cooler handle, which I had set down myself that afternoon and could not see from any angle with the overhead light on. Nothing dramatic happened. I just stood there in the dark holding a jug and saying a word a retired librarian should not say. The next morning I stopped pretending one light was enough.
So put a light down there. I set the lantern on its base on the ground near the tent door, angled along the path to the car, at the lowest setting. It is not for reading. It is for seeing where you are putting your feet for the two or three trips you make after dark. If the ground is wet, the lantern's water resistant body means a little dew or a light drizzle is not a problem, though I would not leave it sitting in a puddle.
On the drive-in sites we favor, this is usually a short path from the tent to the back of the Outback. That is exactly the path where you will be carrying something with both hands and cannot hold a flashlight. Light it and forget it.
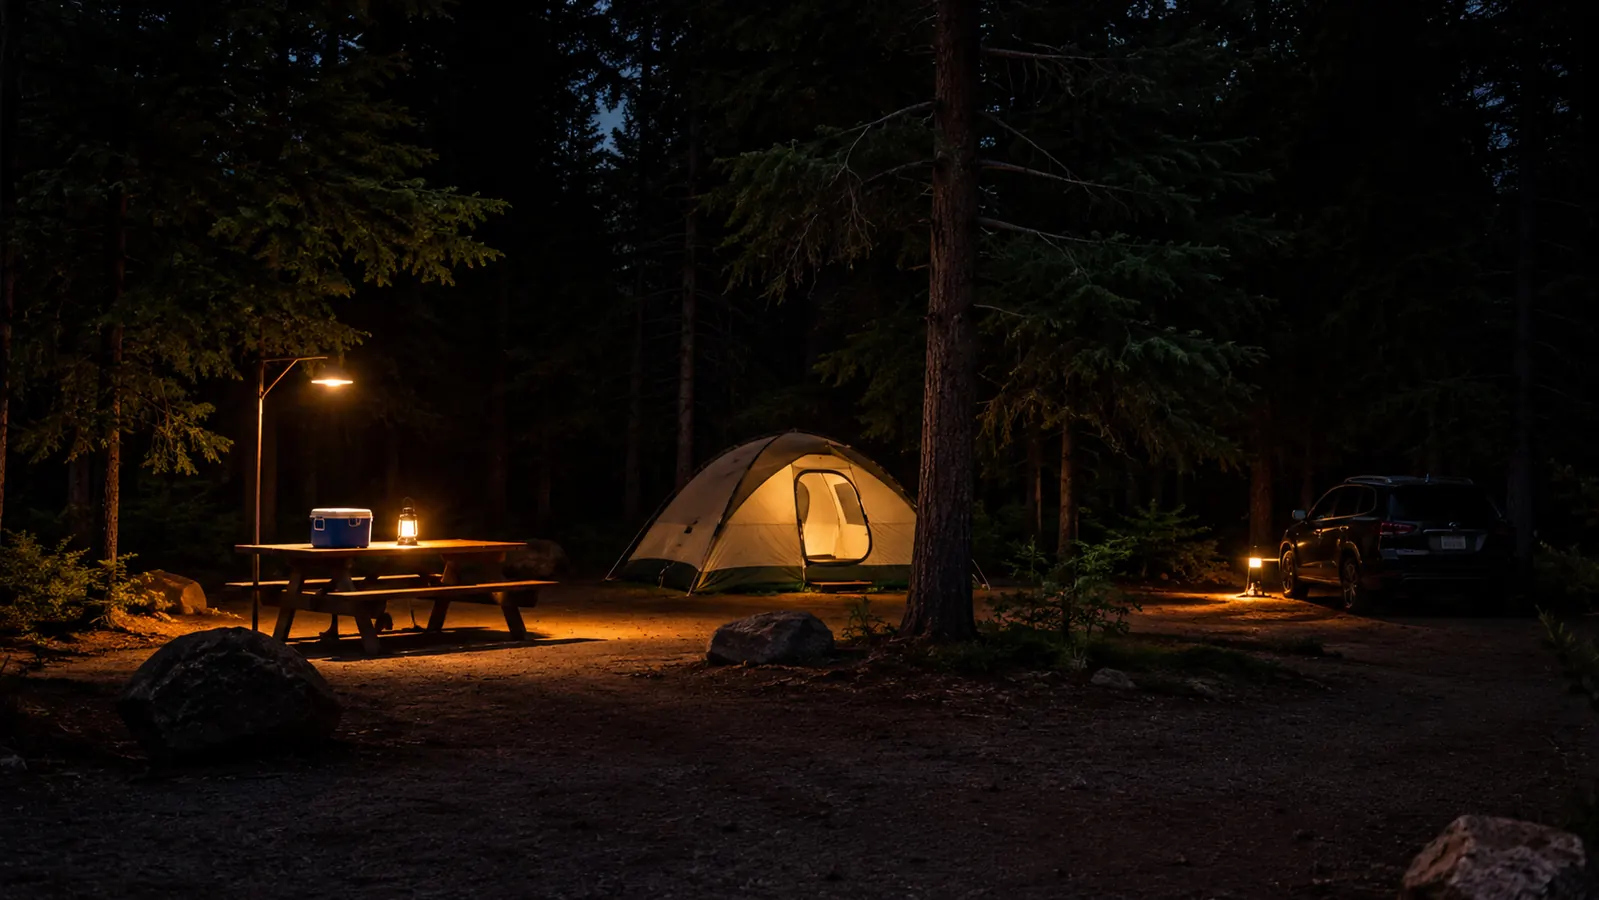
Step 4: Keep one light in reserve and know where it is
I keep a third light, dimmed and off, in the same tote bag as the matches. Not because we need three lanterns going at once, but because the moment you most need a light is the moment the one you were counting on is somewhere in the car under a sleeping bag. The reserve light has one job: to be findable in the dark by a person who is already frustrated.
This is where a rechargeable lantern earns its place in the routine. There is no fuel to check, no mantle to break, no canister to wonder about. The voltage and the battery are what they are, and either it took a charge or it did not. I charge it on the drive home and it is ready for the next weekend. Compare that to the propane lantern we used to haul, which required a spare canister and a certain amount of optimism.
A note on charging, because I got this wrong once: charge it before you leave the house, not at the campground. Some sites have an outlet in the bathroom and some do not, and relying on that is a good way to start the evening with a lantern at half power and a bad attitude.
Step 5: Kill the overhead light once the cooking is done
This is the step that turns a lit campsite into a pleasant one. Once the dishes are in the tote and the food is put away, turn the main lantern down or off entirely. What is left is the tent glow and the small light near the path, and suddenly you can see the stars, and the people two sites over stop being able to see directly into your dinner.
There is a practical reason too. Light at eye level after dark costs you your night vision, and once it is gone you will not get it back for twenty minutes. If you want to see the fire, or the trees, or the shape of the ridge behind the campground, the overhead light has to go off. The dim setting on the lantern is useful here: low enough to move around safely, not so low that you are guessing.
I also turn the lantern to face away from the neighboring sites when I can, which on a hanging hook means simply rotating it. It is a small courtesy and it is the difference between being a good neighbor and being the site that lit up the whole loop at eleven at night.
What Else Helps
A few things that are not the lantern but make the lantern work better. First, a length of cord or a couple of small carabiners. Campground picnic shelters have beams and hooks and sometimes nothing at all, and being able to rig a hang point in thirty seconds is worth more than a brighter light. Second, a headlamp for hands-free work, kept separate from the campsite lighting so it stays where you can find it. The lantern lights the space; the headlamp lights what your hands are doing.
Third, a flat, dry spot to set a lantern down on its base. Not the ground if it is muddy, and not the table where it will be knocked over. The top of the cooler works. So does a stump. And fourth, a habit: walk your own campsite once before dark and look at where you will walk after dark. The guy lines you can see at seven in the evening are the ones you will trip over at ten.
The cooler lid is my usual answer, partly because it is flat and partly because it is the one surface in camp that is already cleared off. The Lepro sits level on it, which is not true of every lantern I have owned. Whatever you choose, pick the spot before dark and use the same one every trip, the way you would put a lamp on an end table at home. The routine is what makes it work, not the equipment.
The job is not to make the whole campsite bright. It is to put a little light exactly where your hands and feet are going to be, and then to turn the rest of it off.
One more thing, and it is the least glamorous: check the site rules about light. Some campgrounds ask for dark skies after a certain hour, and some have quiet hours that people interpret as covering light as well as noise. A lantern that dims is easier to comply with than one that only has on and off, which is part of why I stopped using the propane one.
If you want the longer version of how this particular lantern has held up over seasons of weekend use, I wrote about that separately, along with a straight comparison against the propane lantern it replaced.
One lantern, three placements, and the campsite is handled
Top hook for the shelter, base hook for hanging upside down, dim setting for the tent and the path. 1000 lumens when you need it and 360 degrees of spread when you do not.
Amazon Check Today's Price on Amazon →