
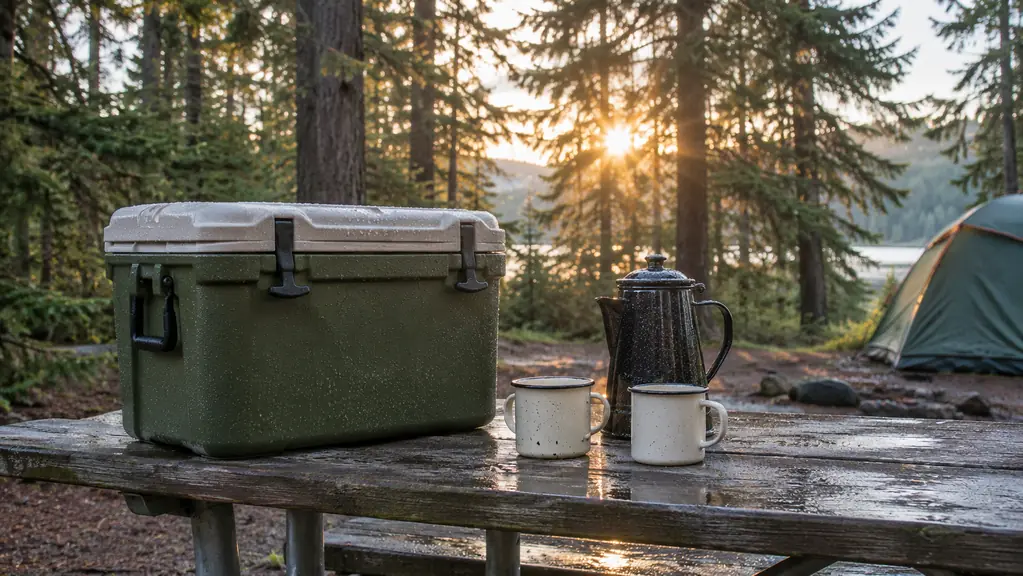
Two bags of ice on Friday afternoon. A cooler of lukewarm water by Sunday breakfast. That was our routine for years, and I blamed the cooler. Then Glenn pointed out that we were doing four things wrong before the ice ever went in, and none of them had anything to do with the brand on the lid. He was right, which he enjoys. We now run a 50-quart Igloo Trailmate for three-day weekends out of a 2017 Subaru Outback with a dog underfoot, and there is still solid ice in it on the last morning. It is not a freezer. It is a cooler that gets packed with a little thought instead of a lot of hope.
There is no trick that makes ice last a week in August. If someone tells you otherwise, they are selling something or they camp somewhere much colder than western Washington. What you can do is stop wasting the cold you already paid for. The four inches of empty air at the top. The bag sitting in the sun while you set up the tent. The lid opened eleven times before lunch. Most of the ice lost on a camping trip is lost to habits, and habits cost nothing to change. Here is the order I actually do things in, which is not the same as the order most how-to lists give them.
The Cold You Bring Is the Only Cold You Get to Keep
A 50-quart Igloo Trailmate holds 81 cans, with 1.5-inch foam-insulated walls and an insulated lid, and it sits on a base that lifts the body away from hot ground. It is the box every step below is built around.
Amazon Check Today's Price on Amazon →Step 1: Chill the Cooler Before You Chill the Food
A cooler is an insulated box, not a refrigerator. It does not make cold, it keeps cold, and the first cold it has to make is the cold that brings the empty plastic down from garage temperature. That costs you real ice. The night before we leave, I put one bag of ice in the Trailmate in the garage, close the lid, and leave it. By morning the walls are cold to the touch and the bag is half gone, and that half bag buys me most of a day at the other end of the trip. If I forget, two frozen water bottles do the same job and turn into drinking water later.
The second half of this step gets skipped because it is inconvenient. Everything that goes into the cooler should already be cold. Room temperature drinks, a warm container of chili, a melon off the counter, all of that is heat you are asking your ice to remove. I pack from the refrigerator, not from the pantry shelf. On a two-night trip, this is the single biggest difference between arriving Saturday morning to slush and arriving to solid cubes.
How much ice to bring is the question I get most. For two people for two nights, I bring one bag for the pre-chill, two blocks for the bottom layer, and one bag of cubes for the top. That is more than most people bring, and it is still less than a lot of people buy and then leave sitting in the sun while they pitch the tent. The number that matters is not what you start with. It is what is left on Sunday morning, and starting with more only helps if the rest of these steps happen.
Step 2: Fill the Space and Pack It in Layers
Empty space is the enemy. Air inside the cooler is air you have to cool down, and a half-full cooler loses its ice faster than a full one every single time. The Trailmate is 50 quarts and the manufacturer says it holds 81 cans, which is a useful number to keep in your head. If what you have loaded would not roughly fill that space, you are carrying warm air around with your food. I fill the gaps with a folded dish towel, a spare bag of frozen peas, two water bottles, anything that takes up room and holds cold.
Layers matter as much as volume. Block ice or frozen bottles go in first, flat on the bottom. Food goes above that, in sealed bags, grouped by when you will eat it, so Saturday breakfast sits on top and Sunday dinner sits on the bottom. Then crushed ice fills the gaps around and over everything. Cold sinks, so the bottom layer does most of the work and the top layer protects what is below it from the warm air that comes in every time the lid opens.
The hard shell and the 1.5-inch foam walls are what make any of this worth doing. Insulation slows heat coming through the plastic from outside. It does nothing about heat you trapped in there when you packed. Those are two separate problems and the cooler only solves one of them, which is why a good cooler packed badly still fails.
Step 3: Keep the Cold Air Where It Is
People open a cooler far more often than they think. I know because I counted one Saturday: fourteen times by two in the afternoon, and nine of those were somebody standing with the lid up, deciding. Every opening dumps the cold air sitting in the top of the box and replaces it with whatever the afternoon is. The fix is not willpower, it is a rule. One person opens it, that person already knows what they are reaching for, and the lid goes down. We keep drinks in a small separate cooler so the food cooler stays shut until mealtime.
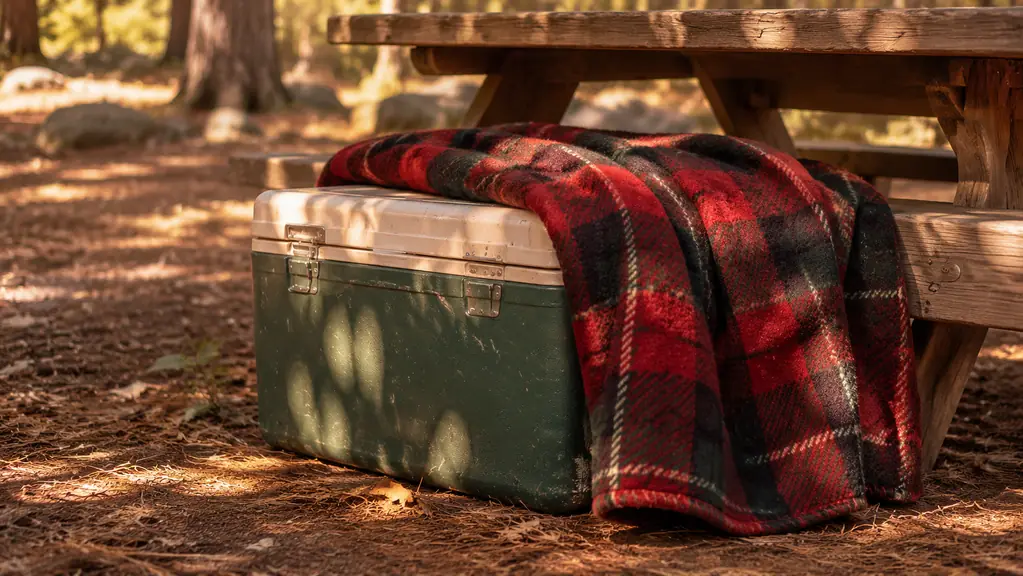
Shade and elevation. A cooler sitting in sun on hot ground is fighting a battle it will lose. Ours goes under the picnic table in whatever shade the site has, or on the shaded side of the car, and we throw a folded blanket or an old sleeping bag over it. That blanket is worth more than another bag of ice. The Trailmate's Cool Riser Technology elevates the body of the cooler away from the surface it sits on, which helps with heat coming up from hot ground. It does not help with sun coming down, so the shade and the blanket still have to happen.
If the site has no shade, make some. A tarp, the shadow of the car, the north side of anything. Glenn once spent an entire trip moving our cooler around the site like it was a houseplant. It worked, and I have not heard the end of it.
Step 4: Deal With the Water Instead of Ignoring It
Meltwater is not the villain people make it out to be. Cold water in the bottom of a cooler is still cold, and it helps hold the temperature down. The problem is what it does to your food. Anything in a paper carton or a cardboard box goes soft, the labels float off, and by Sunday everything in there smells like the same thing. We bag everything, bread and cheese and coffee included, in sealed bags or hard containers. That is a five-minute job at home that saves the whole trip's food.
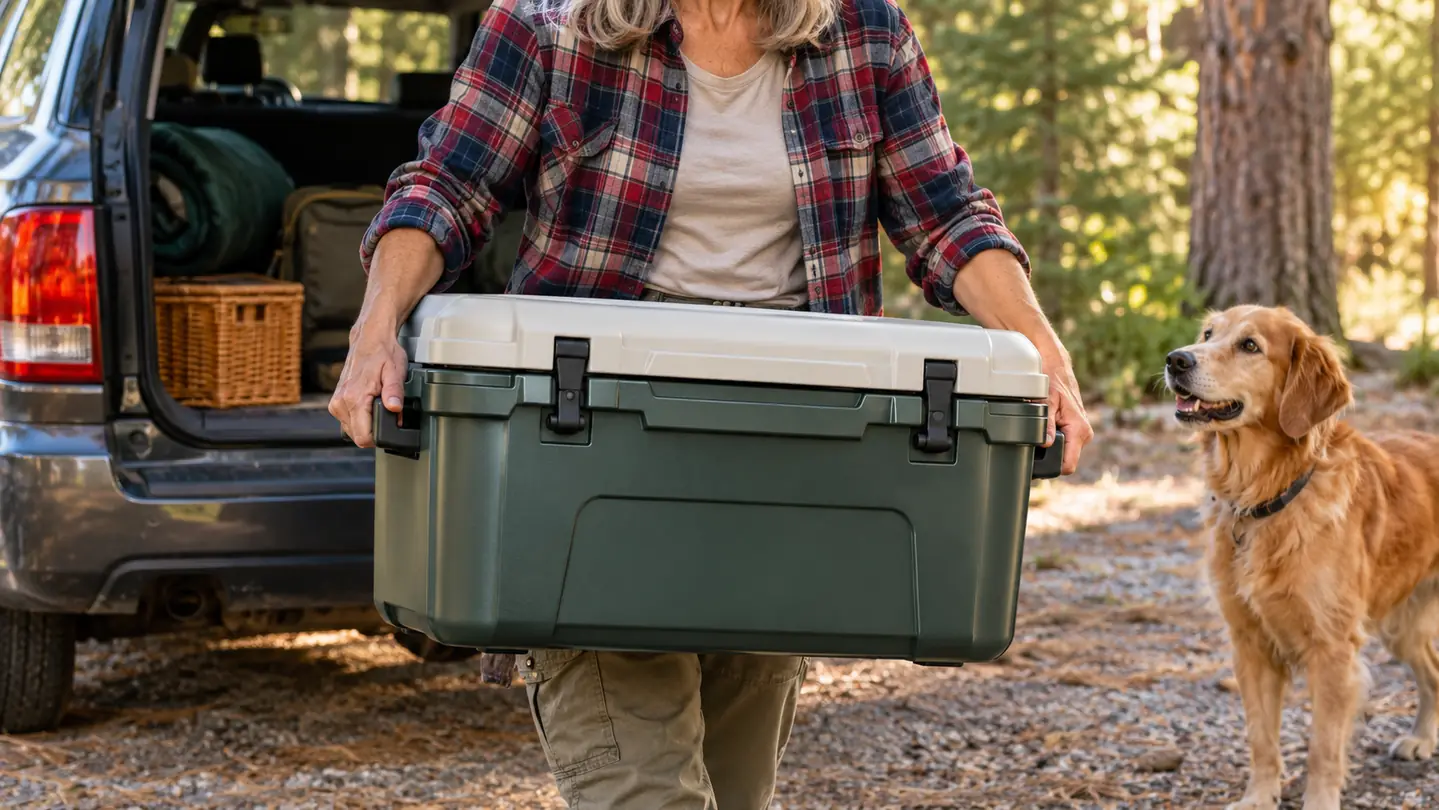
When the water gets deep enough that the food is swimming in it, we pour it off. With a full 50-quart cooler this is a two-person job: one of us on each of the wide side handles, using the reinforced crossbar, with the diamond-textured grip that stops your hand sliding when it is wet. Tip it away from the tent. Do it at a moment when you were going to open the lid anyway, so you are not paying for the opening twice, and do it fast rather than standing there with the lid up for five minutes.
Then top it off with fresh ice instead of letting it ride half empty. A cooler that is two-thirds water and one-third ice is doing very little for you by Sunday morning.
Step 5: Park It Somewhere and Leave It Alone
Where the cooler sits for the weekend matters more than where it sits for the drive. A car parked in the sun gets hot enough inside to flatten a bag of ice in an afternoon, so the cooler comes out at the site and stays out. At night, if there is any chance of a raccoon or a bear, it goes back in the car and the car gets locked. A cooler left out on a table is a cooler that gets opened by something with claws.
Once it has a spot, leave it there. Every time you shift a loaded cooler you slosh the meltwater up the sides, break the layer of cold air sitting on top, and make it start over. The 50-quart size weighs 15.4 pounds empty and a good deal more than that full. Decide on Friday where it lives, put it in the deepest shade you have, cover it, and stop fiddling with it.
The same applies to the car. We load the cooler last so it sits nearest the tailgate, and it comes out exactly once when we arrive. That is the entire trip's worth of handling, which is the right amount.
What Else Helps
The five steps above are the whole method. These are the small things that make each step easier and cost almost nothing.
Block ice beats cubes for the same reason a big log burns longer than kindling. If you can buy a block, buy it. If you cannot, freeze gallon jugs and water bottles at home and use them as the bottom layer. They melt slowly, they hold their shape, and you end up with drinking water instead of a puddle. Frozen meals do the same job and save you a lid opening at dinner time.
A cooler blanket is the cheapest upgrade there is. An old sleeping bag, a moving blanket, a heavy towel, anything that goes over the lid and down the sides. It is not elegant and it works. Juniper has claimed more than one of ours as a bed, which is the only real risk.
And none of this requires a better cooler. What a better cooler gives you is margin. A 50-quart hard-shell Igloo with 1.5-inch insulated walls and an insulated lid, raised off the ground on its own base, is a good starting point for everything above. At 15.4 pounds empty it is light enough that Glenn and I can get it in and out of the Outback without a discussion about it. If you are deciding between this and a soft-sided cooler for the same trips, the soft one wins on folding into a trunk and loses on holding cold for three days.
I keep longer notes on the Trailmate after a few seasons of weekends, and a straight comparison against a soft cooler, for anyone who wants the fuller version of that decision.
Fifty quarts and 81 cans, and none of it matters if the lid is up while somebody decides what they want.
Pack It Once, Close It, and Stop Opening It
Everything in this guide works with the cooler you already own. If you are starting from nothing, the 50-quart Igloo Trailmate is the size that fits a weekend for two people plus a dog, and 15.4 pounds empty is light enough to load alone.
Amazon Check Today's Price on Amazon →